
Next-Generation Sequencing in Clinical Labs: Steps, Sample Collection, Preparation, Sequencing, Analysis, and Quality Control
Summary
- NGS involves multiple steps in the clinical lab to analyze patient samples.
- Proper sample collection, preparation, sequencing, and analysis are crucial for accurate results.
- Quality Control measures ensure the reliability of NGS testing in clinical practice.
Introduction
Next-generation sequencing (NGS) has revolutionized genomic research and Personalized Medicine in recent years. In a clinical laboratory setting, NGS plays a crucial role in diagnosing genetic disorders, predicting treatment responses, and identifying potential therapeutic targets. Performing NGS on patient samples involves a series of complex steps to ensure accurate and reliable results.
Sample Collection
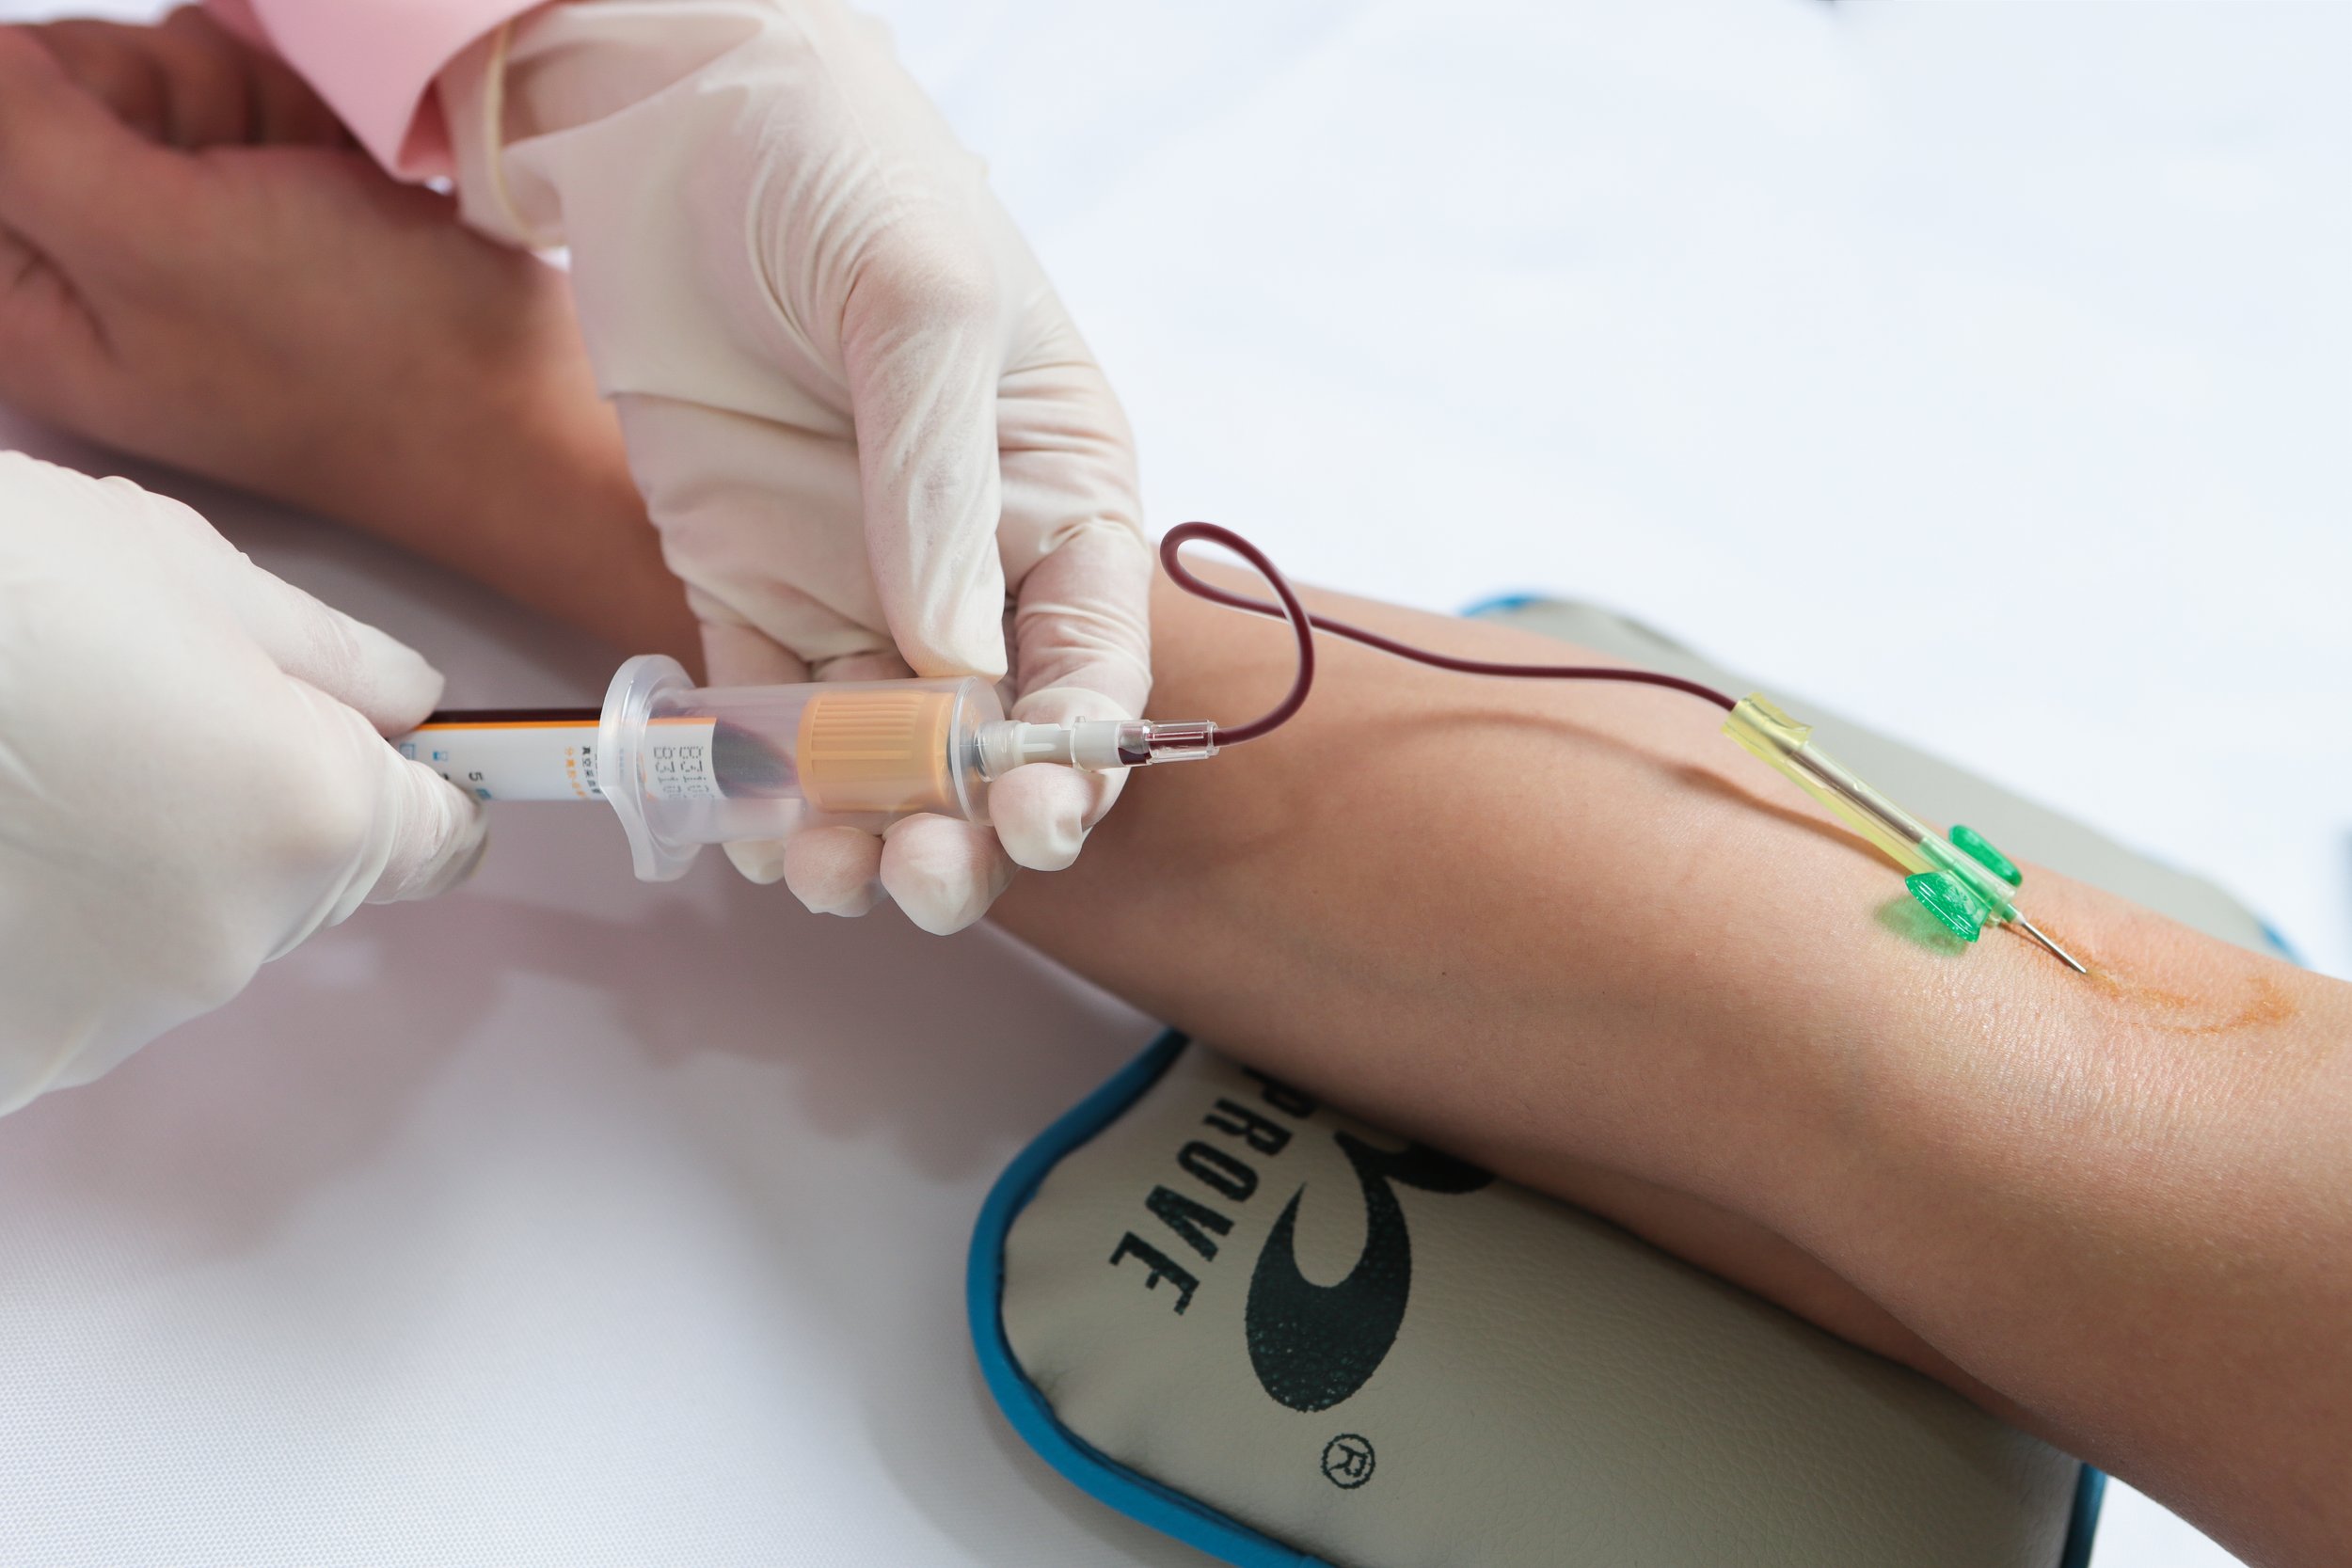
Before any sequencing can take place, it is essential to collect high-quality samples from patients. This may include blood, tissue, saliva, or other bodily fluids, depending on the type of analysis required. Proper sample collection techniques are crucial to avoid contamination and ensure accurate results.
Step 1: Patient Identification and Consent
Verify patient identity and obtain Informed Consent for sample collection.
Step 2: Sample Collection
Collect the appropriate sample using sterile techniques to minimize contamination.
Step 3: Sample Preservation
Properly store the sample to maintain its integrity until sequencing can occur.
Sample Preparation
Once the samples have been collected, they need to be prepared for sequencing. This involves extracting and purifying the DNA or RNA from the sample, a critical step in the NGS Workflow.
Step 1: DNA/RNA Extraction
Isolate the genetic material from the sample using specialized extraction techniques.
Step 2: Library Preparation
Prepare a sequencing library by fragmenting the DNA/RNA, adding adapters, and amplifying the target sequences.
Step 3: Quality Control
Check the quality and quantity of the prepared library to ensure optimal sequencing results.
Sequencing
Once the samples have been prepared, they are ready for sequencing. This step involves running the samples through a sequencer to determine the order of nucleotides in the DNA or RNA.
Step 1: Sequencing Run
Load the prepared samples onto the sequencer and initiate the sequencing run.
Step 2: Data Analysis
Analyze the raw sequencing data to identify genetic variants and mutations in the patient's genome.
Step 3: Variant Calling
Detect and call variants in the sequence data compared to a reference genome.
Data Analysis
After sequencing is complete, the raw data must be analyzed to interpret the results. This involves comparing the patient's genomic data to reference sequences and databases to identify clinically relevant mutations.
Step 1: Alignment
Map the sequencing reads to a reference genome to identify variations and mutations.
Step 2: Variant Annotation
Annotate the identified variants with information on their functional significance and potential clinical relevance.
Step 3: Interpretation
Interpret the results in the context of the patient's clinical history and known genetic information to provide actionable insights.
Quality Control
Throughout the NGS process, Quality Control measures are crucial to ensure the accuracy and reliability of the results. This includes monitoring Sample Integrity, sequencing performance, and data analysis pipelines.
Step 1: Sample QC
Check the quality and quantity of the sample before and after sequencing to ensure reliable results.
Step 2: Sequencing QC
Monitor sequencing metrics such as coverage, depth, and error rates to assess the quality of the sequencing run.
Step 3: Data QC
Perform data Quality Control checks to validate the accuracy of the variant calling and annotation process.
Conclusion
Performing NGS on patient samples in a clinical lab setting involves a series of critical steps, from sample collection and preparation to sequencing and data analysis. By following standardized protocols and Quality Control measures, clinical laboratories can ensure the accuracy and reliability of NGS testing for diagnosing genetic disorders and guiding personalized treatment options.
Disclaimer: The content provided on this blog is for informational purposes only, reflecting the personal opinions and insights of the author(s) on the topics. The information provided should not be used for diagnosing or treating a health problem or disease, and those seeking personal medical advice should consult with a licensed physician. Always seek the advice of your doctor or other qualified health provider regarding a medical condition. Never disregard professional medical advice or delay in seeking it because of something you have read on this website. If you think you may have a medical emergency, call 911 or go to the nearest emergency room immediately. No physician-patient relationship is created by this web site or its use. No contributors to this web site make any representations, express or implied, with respect to the information provided herein or to its use. While we strive to share accurate and up-to-date information, we cannot guarantee the completeness, reliability, or accuracy of the content. The blog may also include links to external websites and resources for the convenience of our readers. Please note that linking to other sites does not imply endorsement of their content, practices, or services by us. Readers should use their discretion and judgment while exploring any external links and resources mentioned on this blog.